
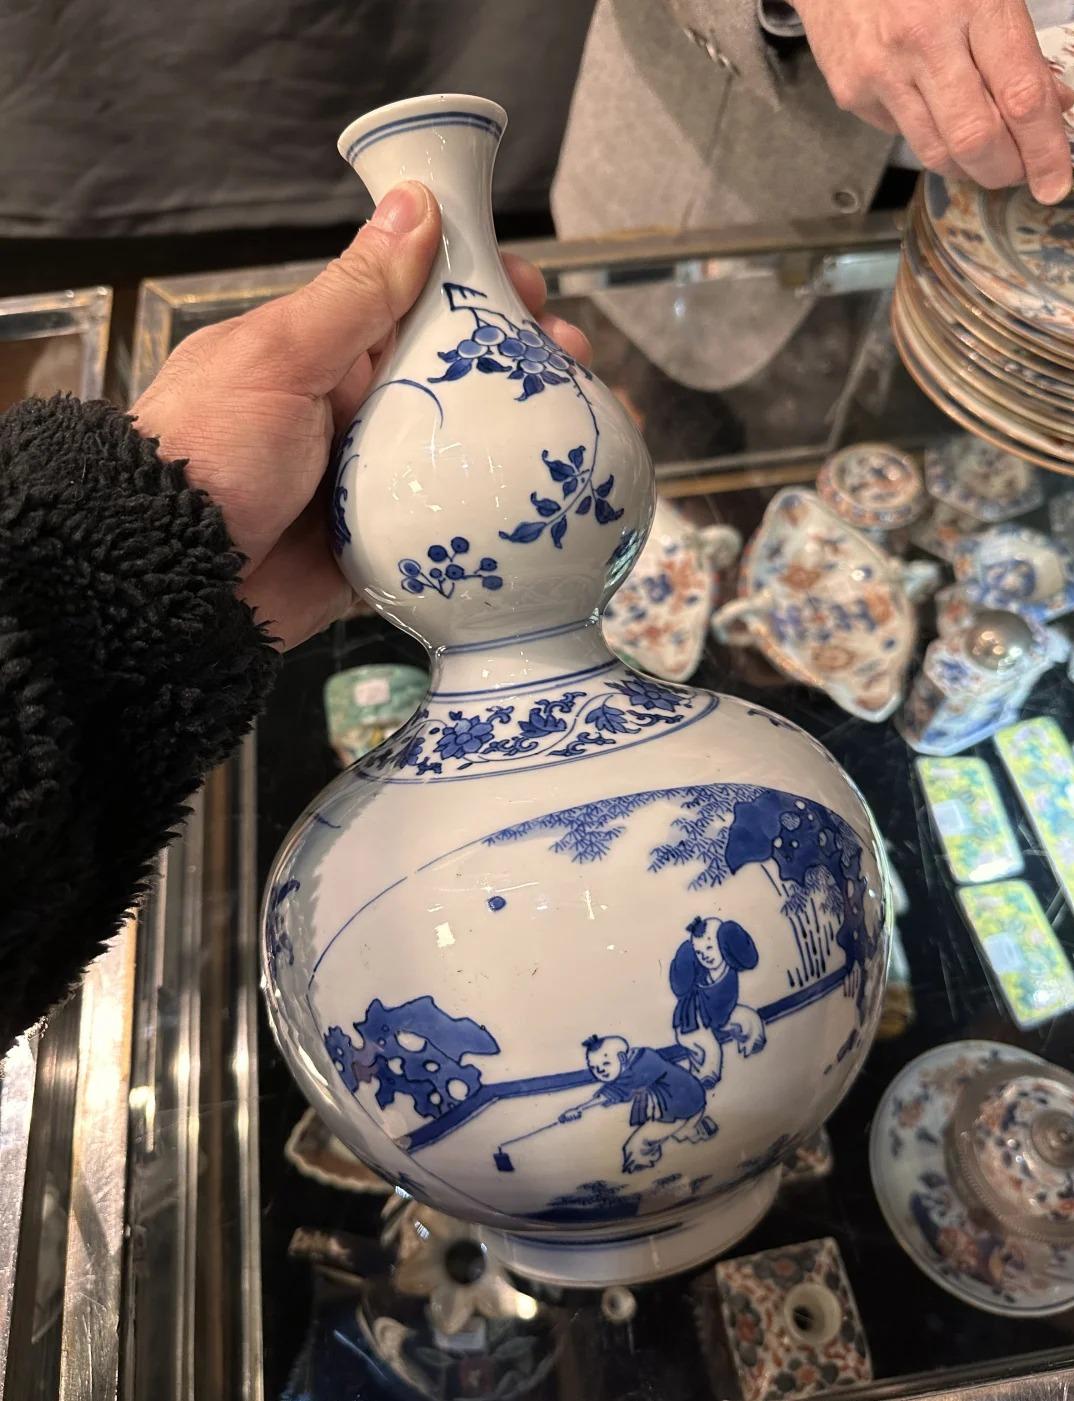
Give each porcelain object its own number and image set
Before moving the piece, make sure every measurement photograph shows the tool and unit. Use the same object number for all later overall views, details, readings and attachments.
- Attachments and provenance: wooden stand, old labels and accompanying documents
- Photographs: rim, body, sides of the foot and base
- Condition: rim chips, hairlines, hidden cracks and old repairs
Give the packaging and the object separate but cross-referenced numbers. Date supporting documents separately. Never fill an uncertainty from a similar vessel, and describe any restriction imposed by the packaging.
Trace production and historical information
A hairline may run from the rim, lug or foot. Rotate the vessel slowly under diffuse light to photograph it; do not tap the body, pour in hot water or use dye to reveal the crack.
Old boxes, wooden stands, paper labels and collection numbers can be retained as background. A provenance account still needs support from the vessel's body, glaze and workmanship, with every photograph matched to its object number.
Reference production or historical claims to a named source, noting when it was consulted. Treat old labels, oral accounts and online images as leads, not conclusions.
Identify the vessel before comparing it
Begin with a working identification, legible text or imagery, size or weight, enclosure and visible condition. Anything indistinct should remain open for comparison.
A complete base sequence shows the inner and outer sides of the foot, its contact surface, kiln grit, firing-support marks and the full inscription. Do not crop down to the mark, and keep every image under the correct number.
Preserve each original measurement
Move a large vessel with both hands supporting the base and body. Do not lift by the rim, lugs, handle or wooden stand, and never force off a firmly attached base.
Assess form through the proportions of mouth, neck, shoulder, body and foot. A phone's wide-angle lens can exaggerate the near side, so step back and centre the camera on the middle of the vessel.
Keep overall photographs, close-ups, measurements, packaging and documents under one identifier. Leave unseen areas open so later images stay with the right vessel.
Make a later comparison traceable
Examine body colour, trimming direction, exposed clay and glaze thickness together with the foot. A single crackle pattern or kiln mark cannot date the vessel on its own.
Images can establish broad type and conspicuous damage. Material, subtle restoration and areas covered by packaging may still require direct inspection; keep the relevant views under the object's number.
Finish with form, support and moisture risks
Compare form, dimensions and the foot as one group of evidence. Consider body colour, glaze colour, painting and mark position alongside the complete outline, side proportions and overhead view. State each gap plainly so one vessel cannot be confused with another.
Use a second pass to compare the dimensions and decoration of paired vessels. Only then complete the rim, body, sides of the foot and base sequence. This order avoids moving the porcelain merely to fill a blank; finish by checking every attachment number.
An original box or wooden stand may add provenance context, but it does not replace the porcelain. Keep its identifier, seal condition and visible restrictions separate from observations of the vessel, then verify the paired-object comparison once more.
Retain the unedited photographs. Take a new image where a clearer view is needed rather than sharpening or filtering the old one. Body colour, glaze, painting and mark position remain the final checkpoints.
After locating the rim, base and damage, recheck dates, units and image direction. If earlier and later observations differ, preserve both versions and explain the comparison.
