
 WhatsApp item photos
Define contact limits before inspecting gold
Begin with the item type, visible hallmark, gross weight, packaging and non-gold components. Observation and weighing leave an item unchanged only within agreed limits; cutting, polishing, scratch testing, fire testing or opening a seal requires separate explanation and consent.
Keep the hallmark, stated fineness and any examination result distinct. Appearance, weight or one mark cannot establish the whole material, while solder joints, later fasteners, hollow supports and settings may create separate limits.
Handover notes should identify every piece, count, weighing unit, non-gold component, enclosure, proposed examination, named deduction and settlement arrangement. Do not insert unsupported market prices or service claims.
Begin with visible details
Note a working name, legible wording or design, dimensions or weight, present enclosure and visible condition for every gold item. Anything indistinct remains open.
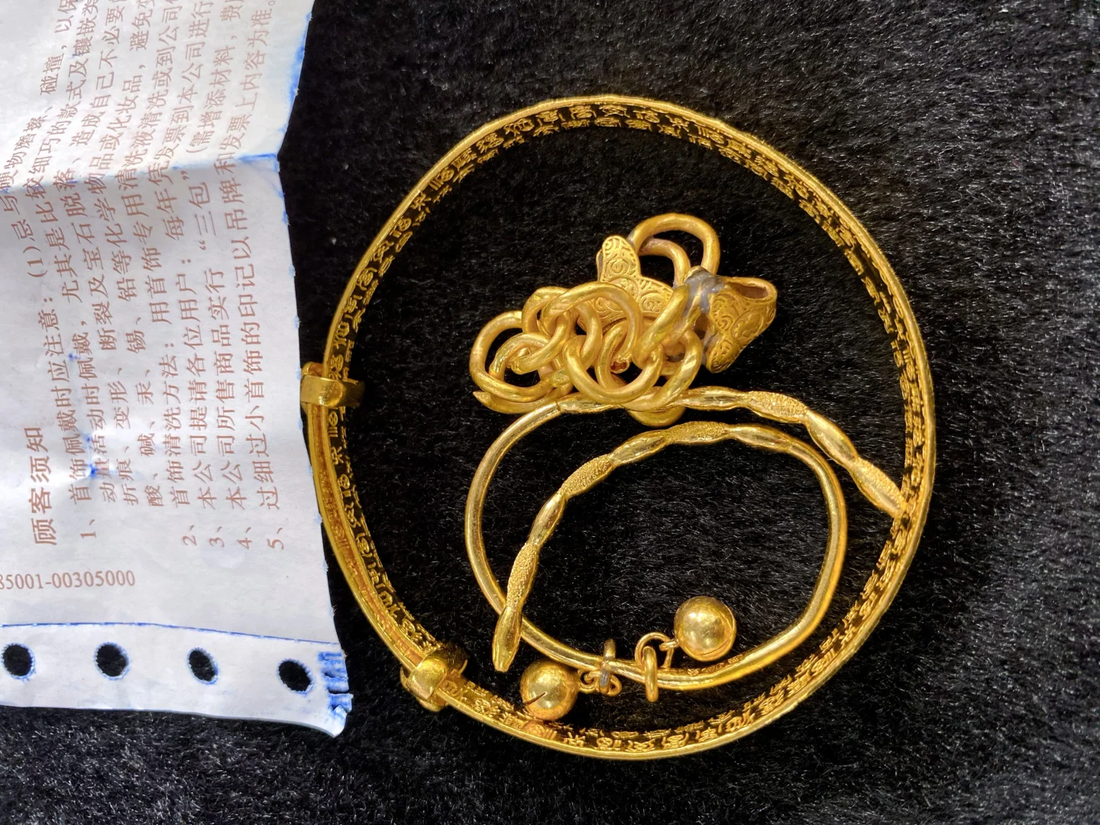
For a wedding-jewellery set, capture the hallmark and weight of each piece. List cords, tags, stones and other non-gold decoration separately rather than treating the combined gross weight as net gold.
Market shorthand cannot establish fineness
Photograph each item as a whole, then add the hallmark, clasp, solder joints and components. Keep the first reading and unit beside the photographs rather than relying on one front view.
To discuss net weight, separate stones, pearls, cords, spring clasps, watch movements and other non-gold parts. State any portion that cannot be removed safely instead of subtracting it by assumption.
Reference a named source and date for manufacturing or historical information. Old labels, oral accounts and online images remain research leads.
Keep one identifier with every gold piece
Marks such as 999, 916 and 750 can guide initial grouping, but each is one clue. Repair solder, later-added fasteners and mixed materials still require direct examination.
A hollow bangle, moving-clasp chain or set ring may include supports or other materials. Photograph seams, fasteners, openwork and moving parts, noting anything packaging continues to hide.
Apply one number to overall views, close details, measurements, packaging and documents so later additions stay with the correct item.
Let the evidence gap decide the next step
A break, distortion or older design does not by itself change fineness. Missing gold, repair solder and repaired areas can affect net weight, so locate each under the correct identifier and preserve the original readings.
Images can sort the pieces and locate conspicuous damage. Material, subtle repair and areas concealed by packaging may still require direct inspection.
Where Old-Gold Weight and Fineness Questions Diverge
Start by separating bracelets, necklaces, rings and pendants, then note components that cannot be removed safely and any net weight still to be confirmed. Do not turn a name unsupported by the images into a conclusion.
Next capture each weight, total weight and stated scale unit before examining hollow construction, later-added fasteners and repair locations. Describe any restriction caused by angle or enclosure.
Keep visible observations apart from labels, certificates and recollections. If the accounts conflict, retain both and return to the clasp, solder joint and construction images.
Before handover, confirm the number of pieces, accessories, packaging and unresolved points. Explain deductions, inspection steps and settlement terms only after the actual items can be seen.
For an enquiry, leave the gold unpolished and sealed where found, then add complete views of clasps, solder joints and construction together with the available documents.