
 WhatsApp item photos
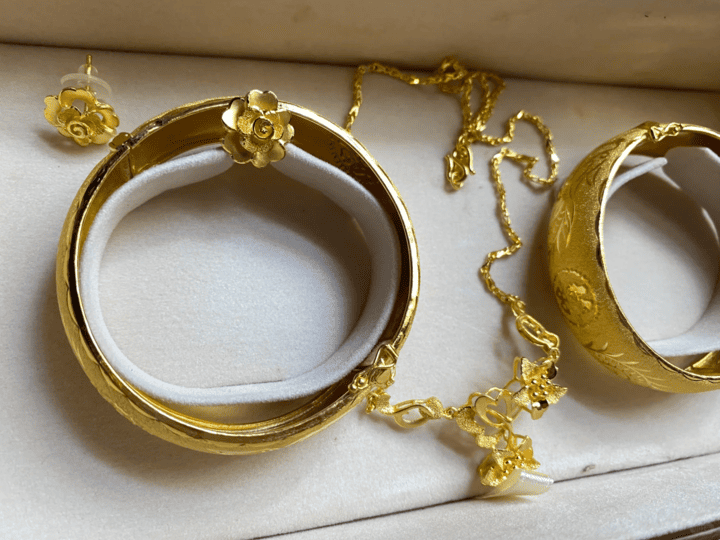
Start with the construction, not the shine
Photograph the complete jewellery piece in a relaxed, supported position before inspecting clasps, joints, solder, moving parts and hollow sections. Bright polish can hide rather than explain alteration.
Assign one identifier to every necklace, bracelet, ring or pendant. Keep complete views, hallmark details, weight and structural close-ups with that piece alone.
Look for distortion, cracks, looseness, replacement parts and colour changes around repaired areas. Describe what is visible without pulling a weak link or repeatedly operating a damaged clasp.
Keep receipts, tags and boxes as contextual evidence. Their wording may support provenance, but it cannot confirm fineness, weight or the condition of each component.
Inspect clasps and moving parts under support
Lay chains and articulated jewellery on a padded surface. Open a clasp only when it moves freely; stop if resistance could worsen a split hinge, stretched spring or previous repair.
Photograph front, back and side views of the mechanism. A replacement tongue, safety chain or modern fitting should be located rather than absorbed into a general description.
Read solder and joints carefully
Use raking light to show seams, solder colour, excess material, porosity and tool marks around links or settings. Do not scrape a joint to expose fresh metal.
A repair may be functional yet still affect weight, appearance and durability. Distinguish original-looking construction from later intervention only as far as the evidence allows.
Understand hollow and supported sections
Note dents, openings and areas where an internal support or filling is visible. Size alone is a poor guide to gold weight when construction is hollow or composite.
Do not squeeze a hollow bead, straighten a dent or probe an opening. Photograph the vulnerable area and identify the handling restriction for a specialist.
Separate weight from fineness claims
Record the gross weight with scale and unit, then list stones, cords, springs, solder and other fittings. A confirmed gold weight must be stated separately and supported by an appropriate method.
Transcribe any hallmark exactly where it appears. Worn or partial marks remain claims to be checked, especially where repairs or added components may differ from the main piece.
Design proportionate next steps
Photographs may establish an obvious broken clasp, solder repair or hollow dent. Fineness, concealed filling and subtle joins may still require careful direct testing.
Before proposing a test, explain the area, likely answer and potential mark or damage. The least invasive method that resolves the question should come first.
For assessment, provide supported complete views followed by the clasp, joints, solder, hollow areas, added fittings and repairs. Keep every detail locatable on the same numbered piece.
Include the unmodified gross weight, visible hallmark and a list of non-gold or unconfirmed components. Do not infer a net gold figure from appearance.
Photograph receipts, tags and original boxes separately, and avoid polishing because solder colour, abrasion and mark edges may explain earlier work.