
Dark silver is a condition to document, not a cleaning instruction
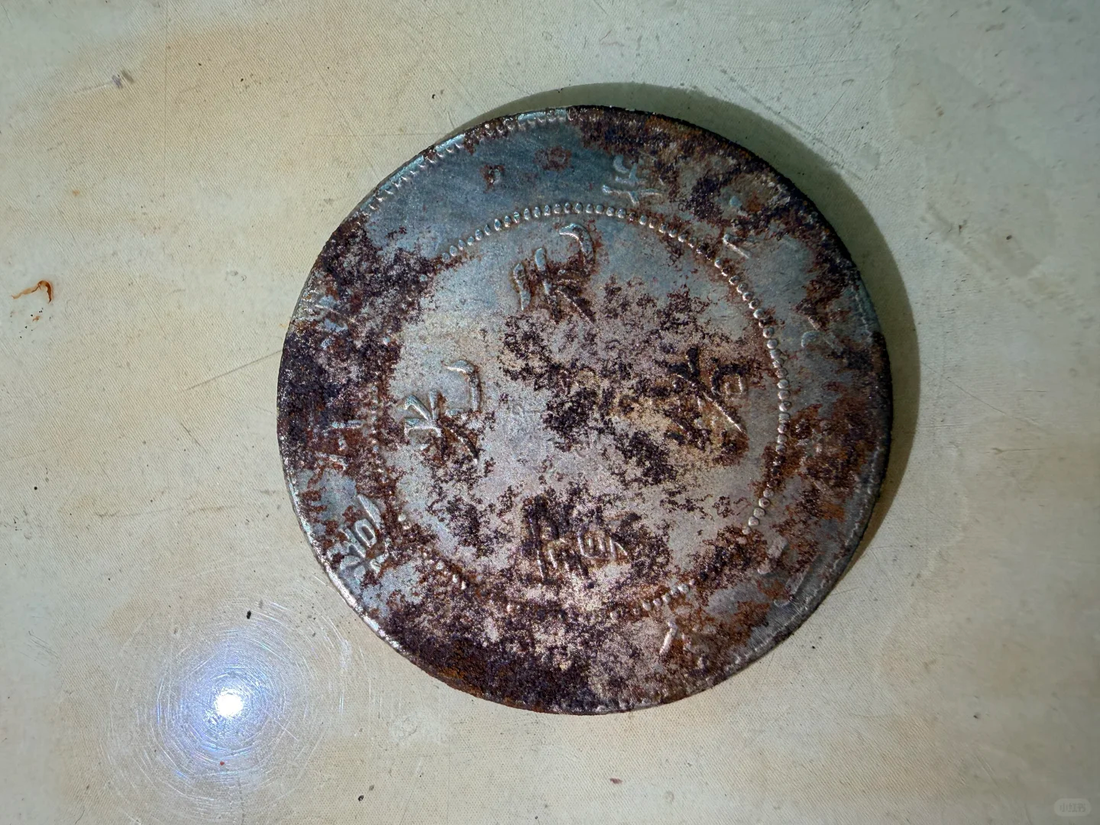
Photograph both complete faces and the entire edge under neutral light before changing the holder. The first images should preserve colour distribution as well as design and damage.
What can be observed now
Describe grey, brown, blue, black or iridescent areas by side and position. Note whether colour is even, concentrated at the rim or interrupted around lettering and contact points.
What needs a separate conclusion
Do not call dark colour natural, artificial, harmful or valuable without supporting evidence. Record the appearance first and reserve causation for an appropriate examination.
Separate toning from other surface histories
Map high-point wear, weak strike, scratches, contact marks and rim knocks independently. Loss of detail can have more than one cause and should not be assigned from colour alone.
Use raking light to show parallel wiping hairlines, polished patches, uneven lustre and residue suggestive of prior chemical treatment. Keep the neutral-light frame beside every texture view.
Do not rub a test area, dip the coin or apply household cleaner. A bright patch created during examination destroys the baseline needed for comparison.
Keep identity evidence tied to condition evidence
Copy the visible date, denomination, legends and principal designs from the two full faces. The condition map and all close-ups must return to the same reference number.
Record a continuous edge sequence and retain weight, diameter, tools and units. These details distinguish the object when several darkened silver coins look alike in a tray.
Treat a slab label or old envelope as supporting material. It can preserve a former name and number without explaining the present colour or surface.
Choose storage after documenting the current state
Keep the coin dry, stable and separated from abrasive contact. Retain a sound existing holder while checking whether paper, soft plastic or residue is touching the surface.
Do not force a coin from a tight capsule or sealed slab to inspect the rim. Name the concealed section and seek direct help only when the unanswered question matters.
Create a useful comparison over time
Use the same lighting, orientation and colour reference for later photographs. Date each session so a genuine change can be separated from exposure or white-balance differences.
If colour appears to progress, compare the holder and storage environment as well as the metal. Do not diagnose the cause from a single new photograph.
Decide whether the dark surface is observed, changed or still unexplained
Compare the current colour and located marks with the first images, then reconcile the coin, holder, edge frames and measurements. Keep observed surface features, documented change and unresolved causes in different sections.
Locate every possible cleaning trace on a full view before adding detail. Broad phrases such as ‘never cleaned’ should not replace observable evidence.
For a group, number each coin before sorting by colour or design. One object's toning pattern, weight or holder history must not migrate to a neighbour.
Retain old photographs and notes when storage changes. They form the evidence needed to judge whether the surface remained stable.
At handover, pass on the no-cleaning instruction and every concealed or uncertain area. Preservation begins by keeping the current surface available for review.
