
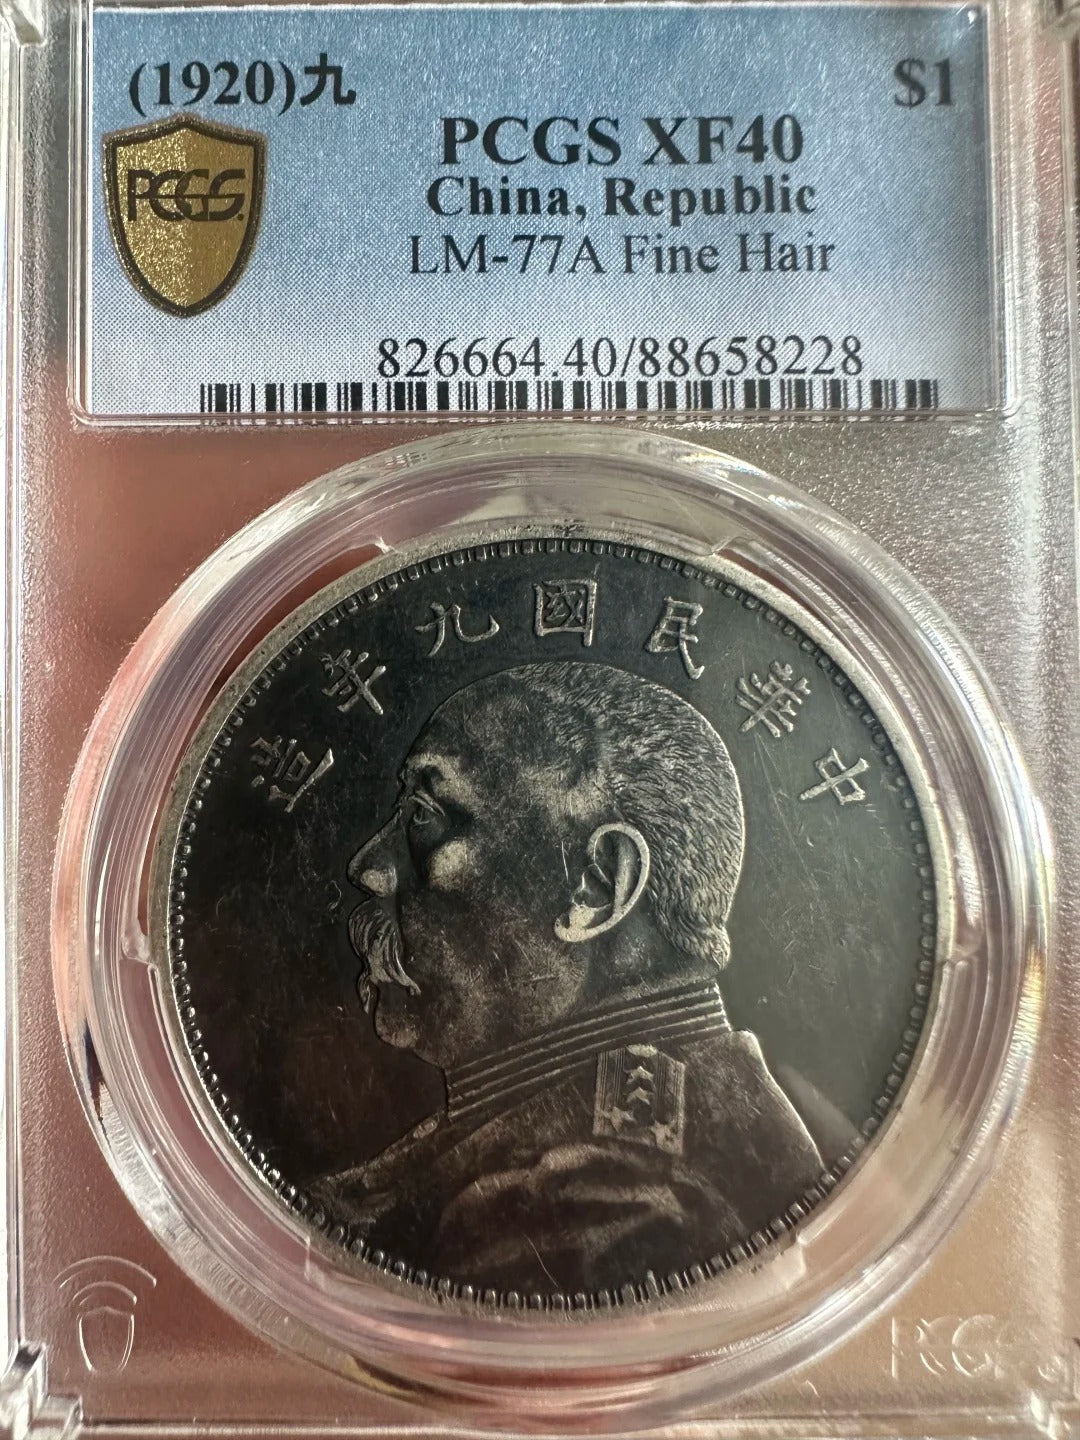
Describe toning before deciding what caused it
Photograph the complete obverse and reverse under neutral light, followed by the edge and a second view under soft raking light. Keep white balance and orientation consistent so colour can be compared honestly.
Record where the tone begins and ends: open field, protected recess, rim, lettering or contact point. Terms such as ‘black’ or ‘rainbow’ are useful only when the photograph shows the distribution.
Give the coin its own number and keep the first images, holder and storage material together. Do not wipe a small area to see whether the colour lifts.
Separate patina from other surface changes
Natural-looking colour, circulation wear, strike softness, parallel hairlines and chemical-cleaning sheen are different observations. Describe each by position instead of compressing them into one grade word.
Look for colour gathered beside devices, interrupted at a scratch, or changing near the rim. These relationships help the reviewer understand the surface without claiming a cause that images cannot prove.
Map damage separately from toning
Locate chops, holes, solder, mounting traces and edge work on the complete coin, keeping each observation distinct from the surrounding toning.
Photograph the envelope, flip, capsule, album or paper insert before separating it from the coin. Note visible staining, brittleness, adhesive contact or trapped moisture.
A handwritten storage date or family account can be preserved, but it does not establish when the toning formed. Keep it in the background notes under the same item number.
Do not turn a colour question into a cleaning experiment
Avoid silver dip, metal polish, toothpaste, erasers and abrasive cloths. Even a small test can alter lustre and create a false boundary in the toning.
If loose residue or active contamination is suspected, stop handling and describe the affected position. A conservator or specialist can decide whether intervention is justified after inspecting the surface.
Keep the first neutral-light and raking-light files with their white-balance reference. A later colour comparison is useful only when the imaging conditions can be reconstructed.
Use measurements and design only to keep identity stable
Retain the date, denomination, principal design, edge sequence, weight and diameter so the same coin can be recognised later. These details do not explain the colour on their own.
Repeat a photograph with the same lighting before comparing change over time. A warmer lamp or altered exposure can look like new oxidation.
Know what remote photographs cannot settle
Good images can show colour pattern, major hairlines and obvious cleaning. They may not resolve original lustre, very fine surface disturbance or residue beneath a holder.
Keep the enclosure intact when opening it would disturb provenance or expose a fragile surface. State what remains hidden and why direct review is being requested.
Mark colour zones, worn high points, scratches, wipes, edge damage and storage contact on complete views. Then match each close-up to a numbered position.
Retain the original files and white-balance reference. If later photographs show a difference, compare like lighting before recording a physical change.
Use calm, descriptive language: ‘dark crescent at the lower rim with parallel lines through the field’ is more useful than an unsupported patina label. Store the coin dry and pass unresolved surface questions forward without promising that cleaning will help.
