
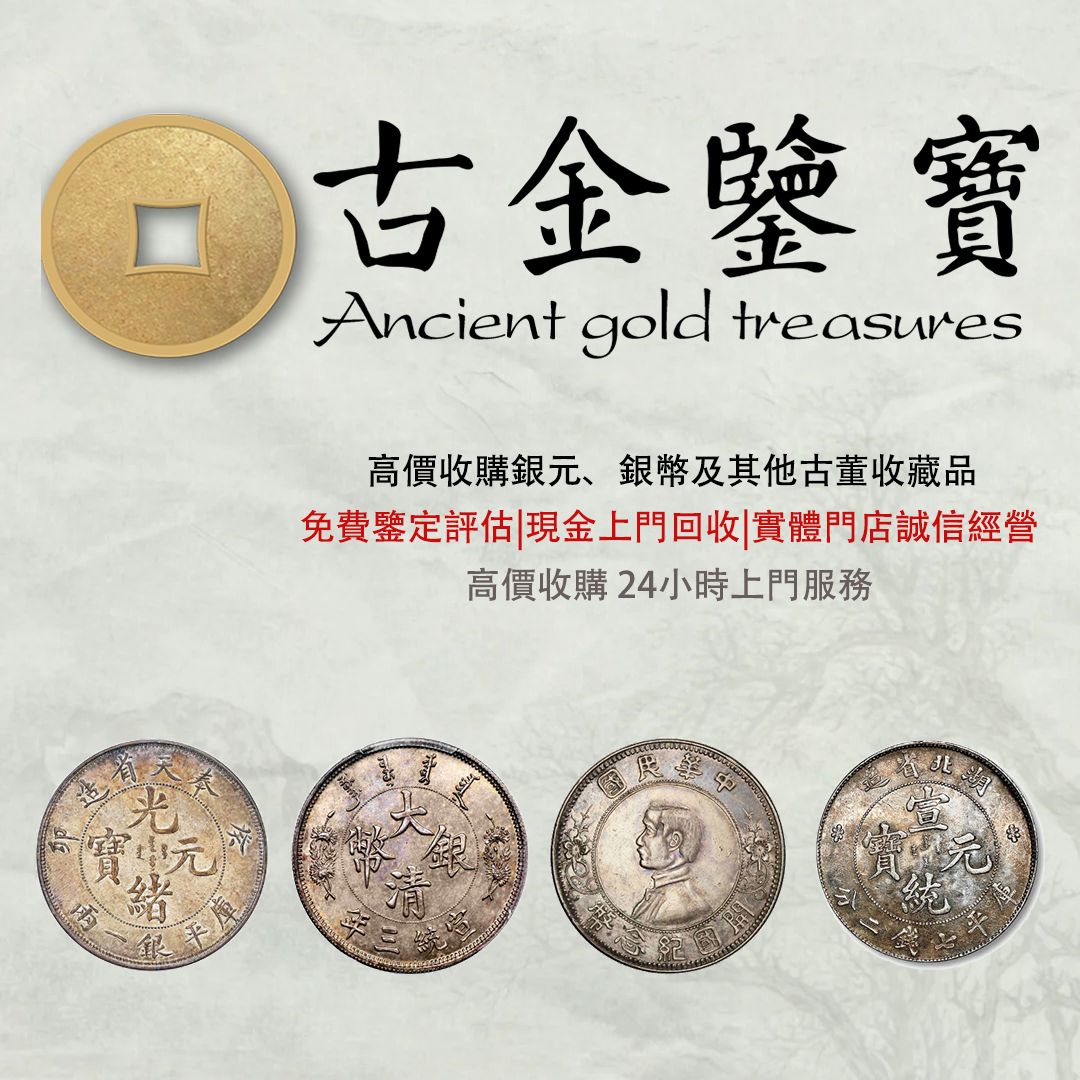
Supply a locatable set of silver dollar photographs
First capture complete obverse and reverse views with the full circumference visible. Photograph the edge clockwise in ordered sections, then add close-ups of the date, denomination, portrait, dragon, grain design, mint mark and damage; every detail must be locatable.
Give each coin a different identifier. Filenames can follow A-front, A-back and A-edge-1 through A-edge-4, with weight, diameter, tool and unit returned to the same item; a group image confirms quantity only.
Photograph paper sleeves, grading holders and old labels separately, noting whether each originally accompanied the coin. Leave unclear surfaces, slight edge work and later treatment open, without cleaning or substituting an online image.
Add damage details only after complete views
Keep chop marks, older sleeves and provenance accounts as supporting material rather than substitutes for the coin's legends, designs, surface and edge. Explain before any handling that may affect the object.
When a coin remains packaged, preserve complete front and back views first, then add details of legends, the principal design, denticles, mint marks and edge wherever the enclosure allows.
Use the coin identifier on full views, close-ups, measurements, packaging and documents so additions made later stay with the correct object.
Leave unknown points open
For later review, group several coins by visible year, denomination and main design, while keeping each coin's faces, edge, weight and diameter independently matched.
Coins with the same broad name may carry different years, denominations or mint marks. Sort those visible features before comparing condition, and finish with an item-by-item check.
Cite a source and consultation date for issue, manufacturing or historical information. Old labels, recollections and online pictures serve only as research leads.
One coin, one evidence set
Begin the enquiry details with the current name, visible legends, design, dimensions or weight, packaging and observed condition, leaving anything obscured for later comparison.
Describe patina, circulation wear, weak strike, wiping lines and chemical-cleaning colour separately, without cleaning the surface before the check is complete.
Unresolved Views Belong on the Enquiry List
Photograph the whole edge in sections when needed, preserving seams, altered rims, holes, solder and jewellery-conversion traces exactly as found. Explain any contact needed for a better view.
Images can classify a coin and locate obvious damage, but composition, subtle repair and concealed areas may require direct examination. Mark each unresolved point on the item checklist.
Which Silver-Dollar Details Remain Open After Photography
Connect complete views, angled-light images and damage close-ups to one number, followed by an explicit list of names or varieties that remain unconfirmed.
Match weight, diameter, tool and original unit to the same object, then locate mint marks, countermarks, holes or edge alterations without changing the identifier.
Photographs support wording, design, proportions and prominent damage; they may not establish composition, hidden cracks or delicate later treatment. State the boundary clearly.
Keep the coin unwashed, unpolished, unscraped and unaltered at the edge. Do not open an original holder until its connection and the effect of opening are understood.
For the next step, bring the existing packaging and evidence set, and identify which complete or close views are still missing so examination can begin efficiently.
