
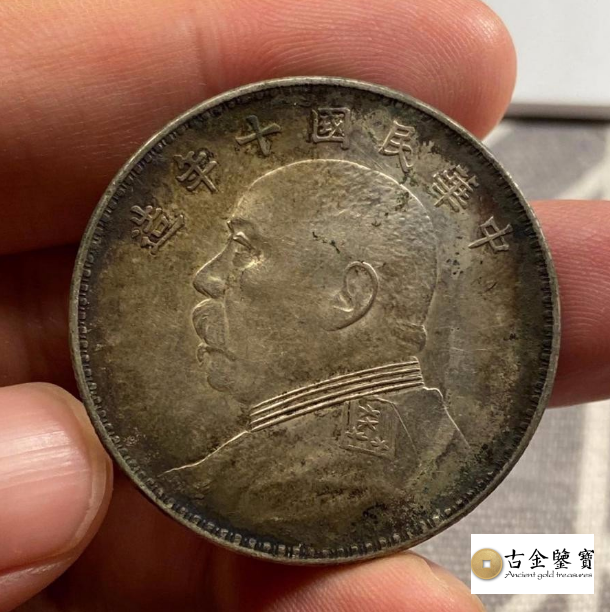
Silver-dollar checklist: write down what is visible first
Do not name a silver dollar from an old label or a similar image online. Begin with the observed weight and diameter, the instrument, the original unit, the camera direction and the coin's item number.
Keep uncropped coin views, raking-light images and located damage close-ups together under that number. Distinguish the photographs and measurements from packaging or other attachments.
Details that need further review
Where the name or variety is not yet supported, first check that the date inscription, principal design and edge views all belong to the same coin. Mark illegible text, unsourced claims and areas that cannot be accessed as three separate limitations.
Begin with dimensions and inscriptions
Start with the name currently in use, the lettering and design that can actually be read, measured dimensions or mass, the holder and the present condition. An unsupported detail stays open for comparison.
While the coin remains packaged, describe patina, circulation wear, weak strike, wiping hairlines and colour associated with chemical cleaning separately. Do not clean it.
Make packaging restrictions explicit
Keep chop marks, old sleeves and provenance accounts distinct from one another. They cannot stand in for inspection of the coin's inscriptions, design, surface and edge; use the checklist to identify missing evidence.
Photograph the whole obverse and reverse with the complete circumference in frame. Add located close-ups of inscriptions, the main design, denticles, mintmarks and edge only after those full views are secure.
Full views, close-ups, measurements, packaging and documents must share the coin's item number. Apply it to every later addition so material from different coins is not mixed.
What not to do while the coin is stored
Photograph the edge in overlapping sections until the full circle is covered. Leave seams, altered edges, holes, solder and evidence of former jewellery mounts untouched, then use the checklist to find any missing section.
Original photographs can support classification and reveal obvious damage. Metal composition, discreet repairs and areas hidden by a holder may still require direct examination.
Treat background stories as leads
Sort a group by date, denomination and principal design, and give each coin its own number. Keep its obverse, reverse, edge, weight and diameter together, then check the set for omissions.
Coins sharing a name may differ in date, denomination or mintmark. Separate them on those observed details before recording condition and later research.
Any claim about when or how the coin was issued needs a named reference and consultation date. Keep catalogue labels, spoken provenance and web pictures separate, because none is direct evidence from the metal.
What to check on this silver dollar
Do not force a complete attribution at the first pass. Enter the verified weight, diameter, instrument and original unit, then describe any evidence gap affecting a mintmark, chop mark, hole or altered edge. Delay the next attribution step until the supporting evidence is ready.
Label proposed names and varieties as unconfirmed, while retaining the complete circumference, denticles and edge in the photographs. Both must point to the same number. Preserve original readings rather than overwriting them with conversions or recollections.
If a document name conflicts with the coin, transcribe both wordings and their dates. Variety, period and material remain open until further examination; a similar coin cannot fill the gap. Apply the same discipline to the circumference, denticles and edge.
The checklist should allow the next reviewer to find the same silver dollar and repeat the inspection. State anything illegible, inaccessible or unsupported, then confirm that observations from separate coins have not been combined.
The useful result is a repeatable set of full and close-up photographs, together with a clear account of what is hidden, cannot be opened or has no source yet.
