
 WhatsApp item photos
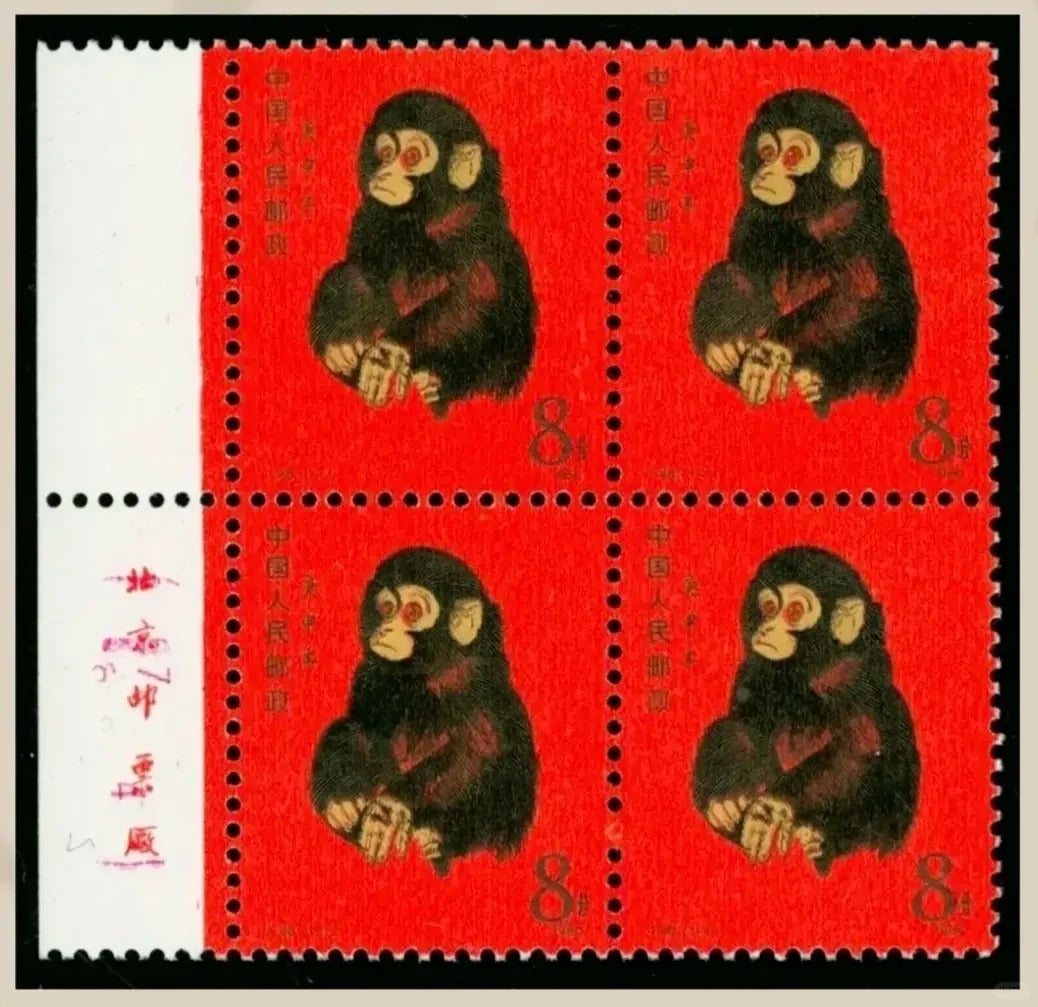
Give every stamp group an identifier before moving it
Before opening a package, photograph its seal and all four sides. Every overall image, detail, measurement and attachment follows that identifier.
- Photographs: full dimensions plus design details mapped to their positions
- Condition: gum, hinge marks, thinning and possible regumming
- Attachments: album page numbers, sequence and earlier annotations
Choose support and turning order according to the paper's condition. Confirm image direction, leave an unknown field unfilled and note any packaging restriction.
Keep each detail anchored to a complete view
Separate a damp or spotted album from other paper and allow ventilation without hot air, direct sun or cleaning agents. State any area still hidden by packaging.
Check issue year, catalogue code, face value and complete-set count wherever supplied. Keep singles, blocks of four, full sheets, souvenir sheets and covers as distinct formats.
Use one identifier across full images, local details, dimensions, enclosure and documents. Explain the risk before any handling that may disturb gum or paper.
An unresolved issue name can remain open
Start the stamp card with its visible country or region, denomination, design, dimensions, present mount and condition. Transcribe partial wording literally and flag any portion hidden by an album page.
Original gum, mounting traces, hinge marks, thinning and regumming may differ in sheen and paper thickness. Do not wet or press the back to make these features clearer.
Match albums and loose stamps item by item
Photograph an album from its cover through each page and retain page numbers and original sequence. Stop turning pages if damp adhesion is present and do not pull stamps apart.
Handwritten notes, packets and arrangement can supply provenance context. When plastic strips have aged, record the page construction before attempting any movement.
Issue or production information should identify its reference and access date; labels, oral accounts and web images remain secondary leads.
Details that may require physical examination
Look for short, missing, folded or reperforated teeth. Preserve sheet margins, plate inscriptions, colour marks and perforation joins in their existing layout.
Images can classify a stamp and locate conspicuous damage, whereas paper, gum alteration and repairs hidden by mounts may still need direct examination.
Bring the mould question back to the stamps
Complete-set count and sheet-margin information must be verified on the material. Record gum, hinge marks, thinning and possible regumming separately from album page numbers and earlier notes.
When checking later, confirm the identifier before retrieving dimensions, design positions, front and back, perforations and margins. Add a date to new evidence instead of replacing the first version.
Retain both accounts if image orientation, measuring point or proposed name changes, explaining why another check was needed.
Before closing the list, confirm that every photograph returns to one identifier. Exclude an unlocatable detail from the summary until its position is known.
For an enquiry, align each stamp number, image set, complete count and sheet-margin information; leave anything unresolved for examination in hand.